
Watercolor Painting Techniques: A Comprehensive Guide (PDF)
This comprehensive guide delves into the captivating realm of watercolor painting. This PDF provides an extensive exploration of
techniques, essential materials, and practical exercises. Elevate your artistic skills through mastering washes and layering
techniques within this resource.
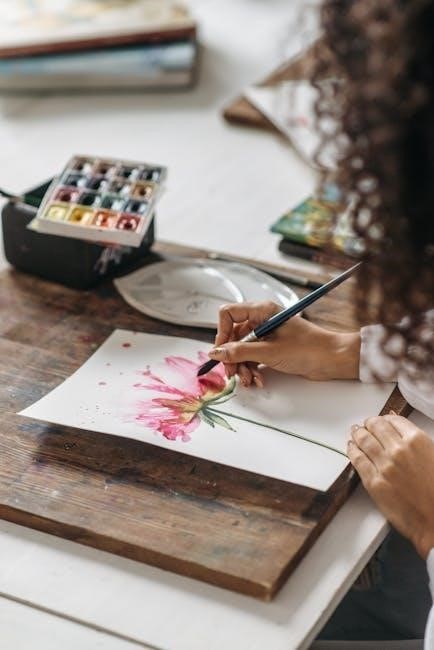
Watercolor painting, a beloved medium through centuries, offers artists the fun to experiment with color, texture, line, shape, and value.
Originating in Asia as early as 4000 BC, it evolved with papermaking during the Renaissance in Europe. This guide provides a
comprehensive introduction, perfect for artists seeking to master watercolor techniques. From fundamental concepts to advanced methods,
explore step-by-step demonstrations that guide artists through the watercolor process.
Learn essential art theory, including color mixing, composition, perspective, and light and shadow, to elevate your paintings; Whether
you’re a novice or an experienced painter, this introduction is a vital starting point for anyone passionate about watercolor
painting. Discover free watercolor lessons, practical exercises, and themed painting ideas in PDF format, and unlock your full artistic
potential today!
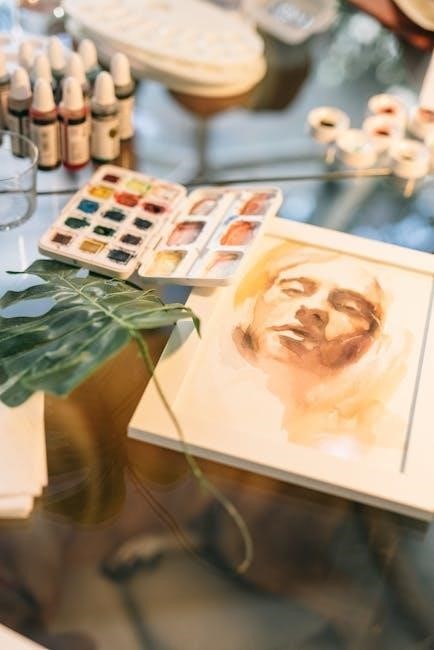
Essential Materials and Tools
To begin your watercolor journey, gather the essential materials. These include watercolor paints, suitable paper, quality brushes,
a palette for mixing, water containers, masking fluid, and sponges.
Watercolor Paints: Types and Qualities
Watercolor paints come in two primary forms: pans and tubes. Pan paints are dry cakes of pigment, activated with water, offering
portability and ease of use, ideal for beginners and plein air painting. Tube paints, conversely, are concentrated and moist,
allowing for greater control over color intensity and mixing, favored by experienced artists for studio work;
The quality of watercolor paints hinges on pigment concentration, lightfastness, and granulation. Professional-grade paints boast
higher pigment loads, resulting in vibrant, enduring colors. Lightfastness, indicated on paint labels, signifies resistance to
fading over time. Granulation, the textural effect caused by pigment particles settling on paper, adds visual interest.
Student-grade paints, while more affordable, often contain fillers that dilute pigment intensity. Consider investing in artist-grade
paints for superior results. Experiment with different brands and pigments to discover your preferences, exploring transparent,
opaque, staining, and lifting colors to achieve desired effects in your paintings.
Watercolor Paper: Selection and Preparation
Choosing the right watercolor paper is crucial for successful painting. Paper is categorized by weight (thickness), surface texture
(hot press, cold press, rough), and composition (cotton, cellulose). Heavier papers (140lb/300gsm or more) resist buckling and
warping when wet, providing a stable surface for washes and layering.
Hot press paper features a smooth surface, ideal for detailed work and fine lines. Cold press paper has a slightly textured
surface, offering a balance between detail and texture. Rough paper boasts a highly textured surface, perfect for expressive
strokes and granulating effects. Cotton paper is more absorbent and durable, while cellulose paper is more affordable.
Before painting, prepare your paper by stretching it to prevent buckling. Soak the paper in water for several minutes, then
secure it to a board with tape or staples. Allow the paper to dry completely before painting. Alternatively, use pre-stretched
watercolor blocks or pads for convenience. Proper paper selection and preparation ensure optimal watercolor performance.
Basic Watercolor Techniques
Mastering basic watercolor techniques is essential for any artist. These fundamental techniques include wet-on-wet, wet-on-dry, flat
wash, and graded wash. Practicing these techniques will provide a solid foundation for creating stunning watercolor paintings.
Wet-on-Wet Technique
The wet-on-wet technique is a foundational watercolor method that involves applying wet paint to a wet surface. This technique is
ideal for creating soft, blended effects, making it perfect for backgrounds, skies, and areas where smooth transitions are desired.
To execute this technique, begin by wetting the watercolor paper with clean water using a large brush or sponge. Ensure the paper
is evenly damp but not overly saturated; excess water can lead to uncontrolled blooms and uneven washes;
Next, load your brush with diluted watercolor paint and gently apply it to the wet surface. The colors will naturally blend and
spread, creating a soft, ethereal effect. Experiment with different color combinations to achieve unique and captivating results.
This technique requires practice to master, as the amount of water and paint used significantly impacts the final outcome. Embrace
the fluidity and unpredictability of wet-on-wet for stunning watercolor paintings.
Wet-on-Dry Technique
The wet-on-dry technique stands as a fundamental approach in watercolor painting, offering artists enhanced control and precision.
This method involves applying wet watercolor paint onto a dry surface, be it paper or a previously dried layer of paint. Unlike
the wet-on-wet technique, wet-on-dry allows for sharp lines, defined edges, and intricate details.
To execute this technique effectively, ensure your watercolor paper is completely dry. Load your brush with a well-saturated
watercolor paint, maintaining a balance between pigment and water. Apply the paint to the dry surface with controlled strokes,
allowing each stroke to dry before adding subsequent layers. This layering approach, known as glazing, enables you to build up
depth, value, and color intensity gradually. The wet-on-dry technique is invaluable for creating detailed illustrations, precise
landscapes, and controlled washes.
Flat Wash Technique
The flat wash technique stands as a cornerstone in watercolor painting, revered for its ability to create smooth, uniform areas of
color. This technique involves applying a consistent layer of diluted watercolor paint across a defined area, ensuring an even
tone and minimal variations in value. Mastering the flat wash is crucial for rendering skies, backgrounds, and other elements
requiring a seamless, untextured surface.
To achieve a flawless flat wash, begin by tilting your paper at a slight angle. Load your brush generously with a diluted
watercolor mixture. Starting from the top, apply a horizontal stroke, allowing the paint to flow evenly. Before the first
stroke dries, apply the next stroke, slightly overlapping the previous one. Continue this process down the entire area,
maintaining a consistent flow and avoiding any pooling or backruns. Proper paper preparation and brush control are essential for
achieving a smooth, professional-looking flat wash.
Graded Wash Technique
The graded wash technique, also known as a graduated wash, is a fundamental watercolor skill that allows artists to create smooth
transitions between different values of a single color. This technique is particularly useful for depicting atmospheric effects,
light and shadow, and creating depth in landscape paintings. The graded wash involves gradually changing the concentration of
pigment in the wash, resulting in a seamless shift from light to dark or vice versa.
To execute a successful graded wash, start with a heavily diluted watercolor mixture for the lightest value. Apply the first
stroke across the top of your paper, tilting the surface slightly. For each subsequent stroke, gradually increase the
concentration of pigment while slightly overlapping the previous stroke. This gradual increase in pigment will create a smooth
transition from light to dark. It’s crucial to maintain a wet edge throughout the process to prevent hard lines from forming.
Practice and careful control of water and pigment are key to mastering this technique.
Advanced Watercolor Techniques
Explore sophisticated methods that push the boundaries of watercolor painting. These techniques offer diverse artistic effects,
from textured surfaces to delicate color manipulations. Mastering these skills elevates your artistic expression and creativity.
Dry Brush Technique
The dry brush technique involves using a brush with minimal water to create textured effects. Load your brush with pigment but
blot off excess water. Drag the brush across the watercolor paper, allowing the paper’s texture to catch the bristles. This
technique is ideal for rendering rough surfaces, such as tree bark, rocks, or weathered textures. Vary the pressure to
control the amount of pigment deposited, creating subtle or dramatic effects. Experiment with different brush types to achieve
various textures. Stiff-bristled brushes work well for more pronounced textures, while softer brushes create more subtle
effects. Practice controlling the amount of water and pressure to master this technique. Use it to add depth and interest
to your watercolor paintings. The dry brush technique is versatile for landscapes and detailed illustrations.
Lifting Color Technique
The lifting color technique allows artists to selectively remove watercolor paint from the paper. This technique is used to create
highlights, correct mistakes, or add texture. To lift color, use a clean, damp brush or a sponge to gently blot the area where
you want to remove the paint. The key is to work while the paint is still wet or slightly damp. If the paint has dried
completely, you may need to rewet it before lifting. Use a blotting motion rather than scrubbing to avoid damaging the paper.
Different tools can be used for lifting, such as paper towels, cotton swabs, or specialized lifting brushes. Experiment with
various tools to achieve different effects. Lifting color is especially useful for creating soft edges, adding highlights to
water surfaces, or correcting areas where the paint has become too dark. Practice this technique to gain control over your
watercolor washes.